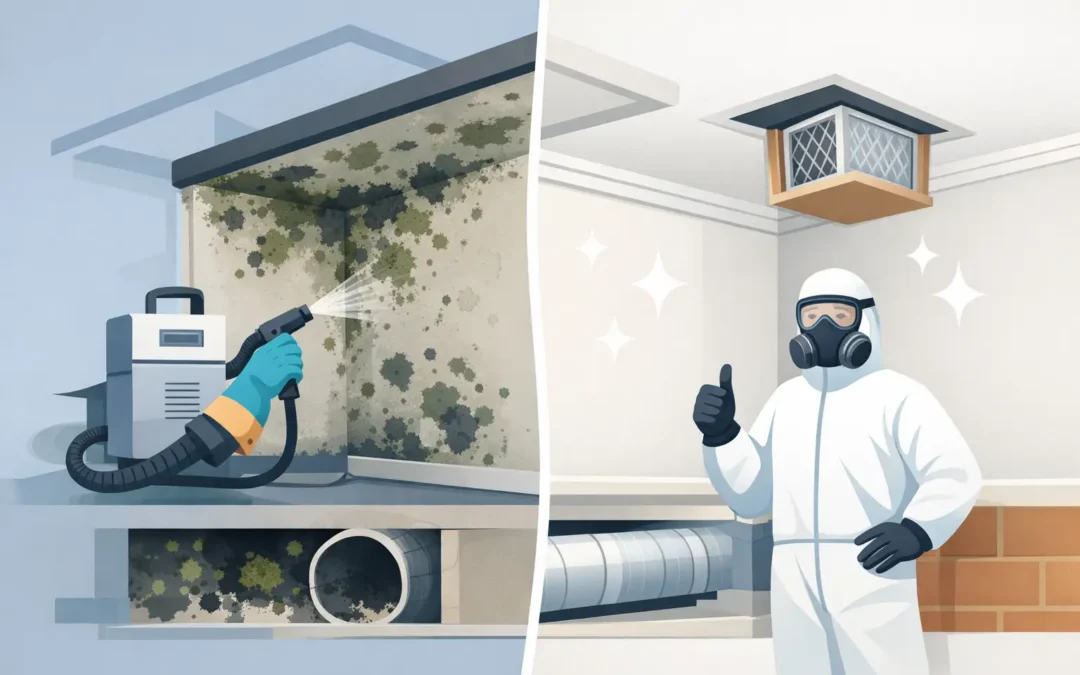
A dark patch in a crawl space, staining around a window, or a musty odor in a basement can make a property decision feel uncertain fast. Understanding mold remediation before and after helps buyers, sellers, and property owners look beyond surface appearance and focus on what actually makes a space safer and more manageable: finding the moisture source, addressing affected materials correctly, and confirming the area is clean and dry.
A freshly painted wall or a bleached-looking spot is not proof that a mold concern has been resolved. Meaningful remediation addresses the conditions that allowed mold to grow in the first place. For Idaho homes, that may involve a plumbing leak, poor drainage, roof moisture, bathroom humidity, condensation, or a damp crawl space.
What the “Before” Stage Should Reveal
The before stage is about understanding the full condition of the affected area. Mold can be visible, but it can also be hidden behind finishes, beneath flooring, inside insulation, or in less frequently accessed areas such as attics and crawl spaces. A careful evaluation considers both what can be seen and the moisture pattern behind it.
The first question is not simply, “Is this mold?” It is, “Why is moisture present here?” Without an answer, even a thoroughly cleaned area may develop growth again. Water intrusion, an active leak, elevated indoor humidity, or inadequate airflow can each leave different clues. Staining, warped materials, damp insulation, corrosion, peeling paint, and a persistent odor all help tell the story.
For a buyer, this information can clarify whether the issue appears isolated or whether further evaluation is needed. For a seller, it offers an opportunity to address a concern before it creates uncertainty during a transaction. Property owners benefit from a clear record of the affected location, apparent cause, visible conditions, and recommended next steps.
Documentation Matters Before Work Begins
Before remediation starts, clear photographs and written observations establish a useful baseline. This documentation should identify the affected areas and describe moisture-related conditions without making assumptions that the evidence does not support.
A full-color report can be especially helpful when several people need to understand the concern, including owners, buyers, real estate professionals, or maintenance teams. Plain language matters here. The goal is to make the condition understandable, not to bury an important issue in technical wording.
What Happens During Mold Remediation
The right scope of work depends on the location, the extent of affected materials, and the source of moisture. A small, contained issue caused by a corrected plumbing leak may require a different approach than widespread growth in a damp crawl space or attic.
In general, effective remediation involves containing the work area as needed, removing or cleaning affected materials appropriately, and correcting the moisture source. Porous materials that are significantly affected may need to be removed because mold can grow into the material rather than only on the surface. Nonporous surfaces may sometimes be cleaned when they remain structurally sound and the underlying moisture problem has been corrected.
Containment is an important part of the process when work could disturb spores or debris. It helps keep affected material from spreading into other parts of the property. The level of containment should match the situation. Not every small area requires the same setup, but larger or more complex conditions deserve careful controls.
Drying is just as important as cleaning. If a crawl space, wall cavity, or attic remains damp after visible material is removed, the problem is not finished. Remediation should leave the area clean, dry, and free of the conditions that supported mold growth.
Mold Remediation Before and After: What Should Change?
The most obvious after result is often visual. Stained or visibly affected materials may be removed, cleaned surfaces may look significantly different, and damaged insulation or finishes may be replaced. But appearance is only one part of the outcome.
A successful after condition should show that the moisture source has been addressed or that a clear plan is in place to do so. For example, a repaired plumbing connection, improved drainage, corrected roof leak, restored ventilation, or moisture-control work in a crawl space can be more meaningful than a clean-looking surface alone.
The affected area should also be free of loose debris and visibly damaged materials related to the remediation work. A persistent musty odor should not be ignored, although odor by itself does not identify the exact cause or location of a problem. If the odor remains, further evaluation may be appropriate.
There are situations where the after condition will not look fully finished. Remediation and reconstruction are often separate steps. A wall may be opened for drying and removal of affected material, then repaired later. That does not necessarily mean the remediation was incomplete. The key is knowing which work has been completed, what remains, and whether moisture conditions are controlled before materials are closed back in.
Clean Does Not Always Mean New
Owners sometimes expect every affected area to look brand new after remediation. That is not always realistic or necessary. In unfinished spaces, such as crawl spaces or utility areas, the appropriate outcome may be clean, dry, stable materials rather than cosmetic restoration.
On the other hand, replacing damaged finishes without correcting a leak or humidity issue can create a polished appearance while leaving the underlying risk in place. The best after result is one that supports long-term property condition, not just a quick visual improvement.
How to Review the Work With Confidence
After remediation, ask for clear documentation of the work performed and the areas addressed. Photographs from before, during, and after the work can make it easier to understand what changed. If materials were removed, it should be clear where and why. If a moisture source was corrected, that should also be documented.
A follow-up inspection can provide a practical outside look at the completed area, especially when a property is being bought or sold. The follow-up should focus on visible conditions, signs of continuing moisture, the overall cleanliness of the work area, and whether any concerns remain accessible for review.
Testing may be useful in some circumstances, but it is not a substitute for correcting visible moisture problems or damaged materials. Results need to be interpreted in context. A good property assessment combines observations, moisture conditions, the history of the issue, and the quality of the completed work.
For buyers, do not hesitate to ask whether the original cause was identified and corrected. For sellers, organized documentation can make a repair conversation more straightforward. For owners, keeping records helps if the same area needs attention later or if you want to monitor whether repairs are holding.
Warning Signs That More Work May Be Needed
An after inspection may point to remaining concerns if there is visible staining, dampness, damaged material, active leakage, standing water, or a continuing musty odor. Signs of high moisture in nearby areas can also matter. Mold is often a symptom of a larger moisture pattern, so the area immediately around the original concern deserves attention too.
Be cautious when the scope of work is unclear. If no one can explain what was removed, what was cleaned, or how the moisture source was addressed, the condition may be difficult to evaluate later. Clear answers and straightforward documentation protect everyone involved in a property decision.
In Idaho, seasonal weather, snowmelt, irrigation, plumbing leaks, and enclosed crawl spaces can all contribute to moisture concerns. Catching these issues early is usually easier than waiting until staining, odor, or material damage becomes more widespread.
When you are reviewing mold-related work, focus on the whole picture: the original moisture source, the affected materials, the cleanup process, and the documented after condition. A clean, dry area with a clear explanation of what changed gives you something far more valuable than a quick cosmetic fix – confidence in your next property decision.